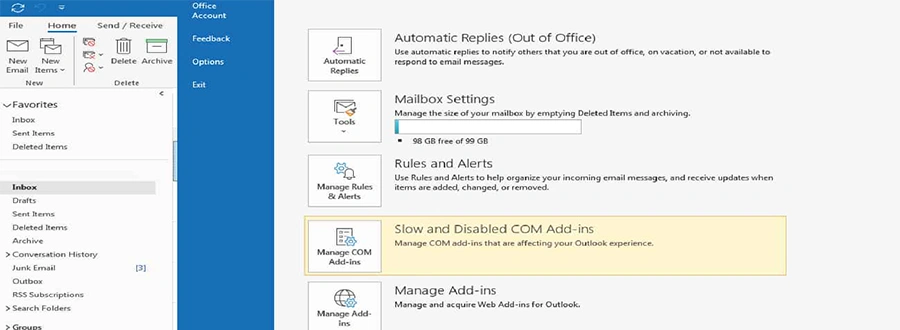
Emails have a way of filling your inbox quickly. New mails, replies, chain mails, forwards, FYIs – your Outlook inbox can spiral out of control before you even realise it. It is crucial to keep your inbox neat to manage your mails better and avoid confusion and missed mails. Archiving old emails automatically can take a load off your inbox and unclutter your mind at the same time. With AutoArchive, you can change the frequency and storage of archived items. Our IT helpdesk team in Perth tells you how to archive older emails automatically in Office 365 in a few easy steps.
How to AutoArchive in Office 365
For Microsoft 365, Outlook 2019, Outlook 2016, Outlook 2013, Outlook 2010
- Login to Outlook. Go to File > Options > Advanced

- Go to AutoArchive and click on AutoArchive Settings

- Choose the options you want as explained below

Run AutoArchive every x days – You can choose the frequency of AutoArchive. If you receive a lot of emails, it is a good idea to archive frequently, as too many items at the same time can affect your computer’s performance. If you wish to turn off the AutoArchive feature, just uncheck this option.
Prompt before AutoArchive runs – Select this checkbox if you wish to be reminded before AutoArchive processes your Outlook items. Click No on the reminder prompt to cancel that particular AutoArchive session.
Delete expired items (e-mail folders only) – Selecting this checkbox will delete messages after their ageing period has passed.
Archive or delete old items – This option lets you set or change the settings that follow. If you don’t select this box, AutoArchive will use default settings.
Show archive folder in folder list – Select this checkbox to list the Archive folder in the Navigation Pane, with the other working folders. If you do not need to see the archive folder in the navigation pane – go to the File tab, click on Open tab, then click Open Outlook Data File to open the archive folder.
Clean out items older than – This option lets you specify the age at which you want items to be archived. You can specify the frequency in days, weeks, months – from a minimum of one day to a maximum of 60 months.
Move old items to – With this option, you can archive old items instead of automatically delete them. Click on Browse to select the location where you want to save the archive folder.
Permanently delete items – This option will delete expired items, and no archive copy is kept. If you are not sure whether you’ll need the old items, it is advisable to select the previous option.
Apply these settings to all folders now – Clicking on this option will apply all the settings you have selected to all folders. If you want different settings for each folder, do not select this option. In the Navigation Pane, right-click on the particular folder, click Properties > AutoArchive tab, and choose the settings you need.
AutoArchive may not be available if your mail connects to an Exchange server, or if your system administrator has disabled it.
We hope you found these steps helpful. If you are still facing any issues with archiving older emails automatically in Office 365, or have an older version of Outlook, our IT helpdesk in Perth is available 24/7 to help you. Contact us or Email at helpdesk@computingaustralia.group.
Jargon Buster
Archiving – transferring data to a less used storage to save space on the primary storage.
Navigation Pane – the pane that appears on the left side of the Outlook window. This pane lets you switch between tasks.


